Get AWS data into Observe
You can use the Observe UI in the Add Data portal to get your AWS data into Observe, or you can use Terraform to push AWS logs, configs, and metrics to Observe, or pull metrics into Observe.
Before you start
AWS offers many way to collect and store data. Make sure your data can be sent to Observe:
-
If you have a global config bucket, make sure you deploy the stack to centralized management account such as Control Tower that has access to the global config bucket. See AWS-at-scale data ingestion for more information about setting up a centralized account and using Control Tower.
-
If you are already sending events to another service, you must configure an EventBridge to also send those events to Observe.
-
Manually upload a test file to the config bucket and verify that it gets piped into Observe.
-
The role or user deploying the Observe stack must have permission to retrieve objects from public S3 buckets in the same AWS region as the deployment, as well as in the
us-west-2region.To validate the user or role is able to read and copy from a public bucket in
us-west-2, run the following command as that user or role:aws s3 cp s3://observeinc/cloudwatchmetrics/filters/default.yaml default.yamlIf the command fails, update the user or role permissions to allow the required access. You may also need to validate your SCP policies to ensure they do not include an explicit
Deny.
Verify the following permissions are set:
- The Observe IAM role has the necessary
kms:decryptpolicy attached, and that the policy applies to the config bucket resource and files inside. - Ensure that the Control Tower KMS key policy allows for
kms:decrypt.
For example:
{
  "Sid": "Enable Decrypt for Observe",
  "Effect": "Allow",
  "Principal": {
    "AWS": "arn:aws:iam::<AWS-ACCOUNT>:role/<STACK_NAME>
  },
  "Action": "kms:Decrypt",
  "Resource": "*",
}
Use the Add Data portal to get your AWS data into Observe
Perform the following steps to get data from your AWS environment into Observe:
- In the left navigation rail, select Data & integrations > Add data.
- Click the AWS panel.
- Provide your AWS Account ID, then click Continue.
- In the Configure metrics panel, decide how you want to collect metrics: use Metric Stream to push data into Observe from CloudWatch, or use API Polling to pull metrics into Observe. See AWS data collection to compare the options and decide which one is better for you.
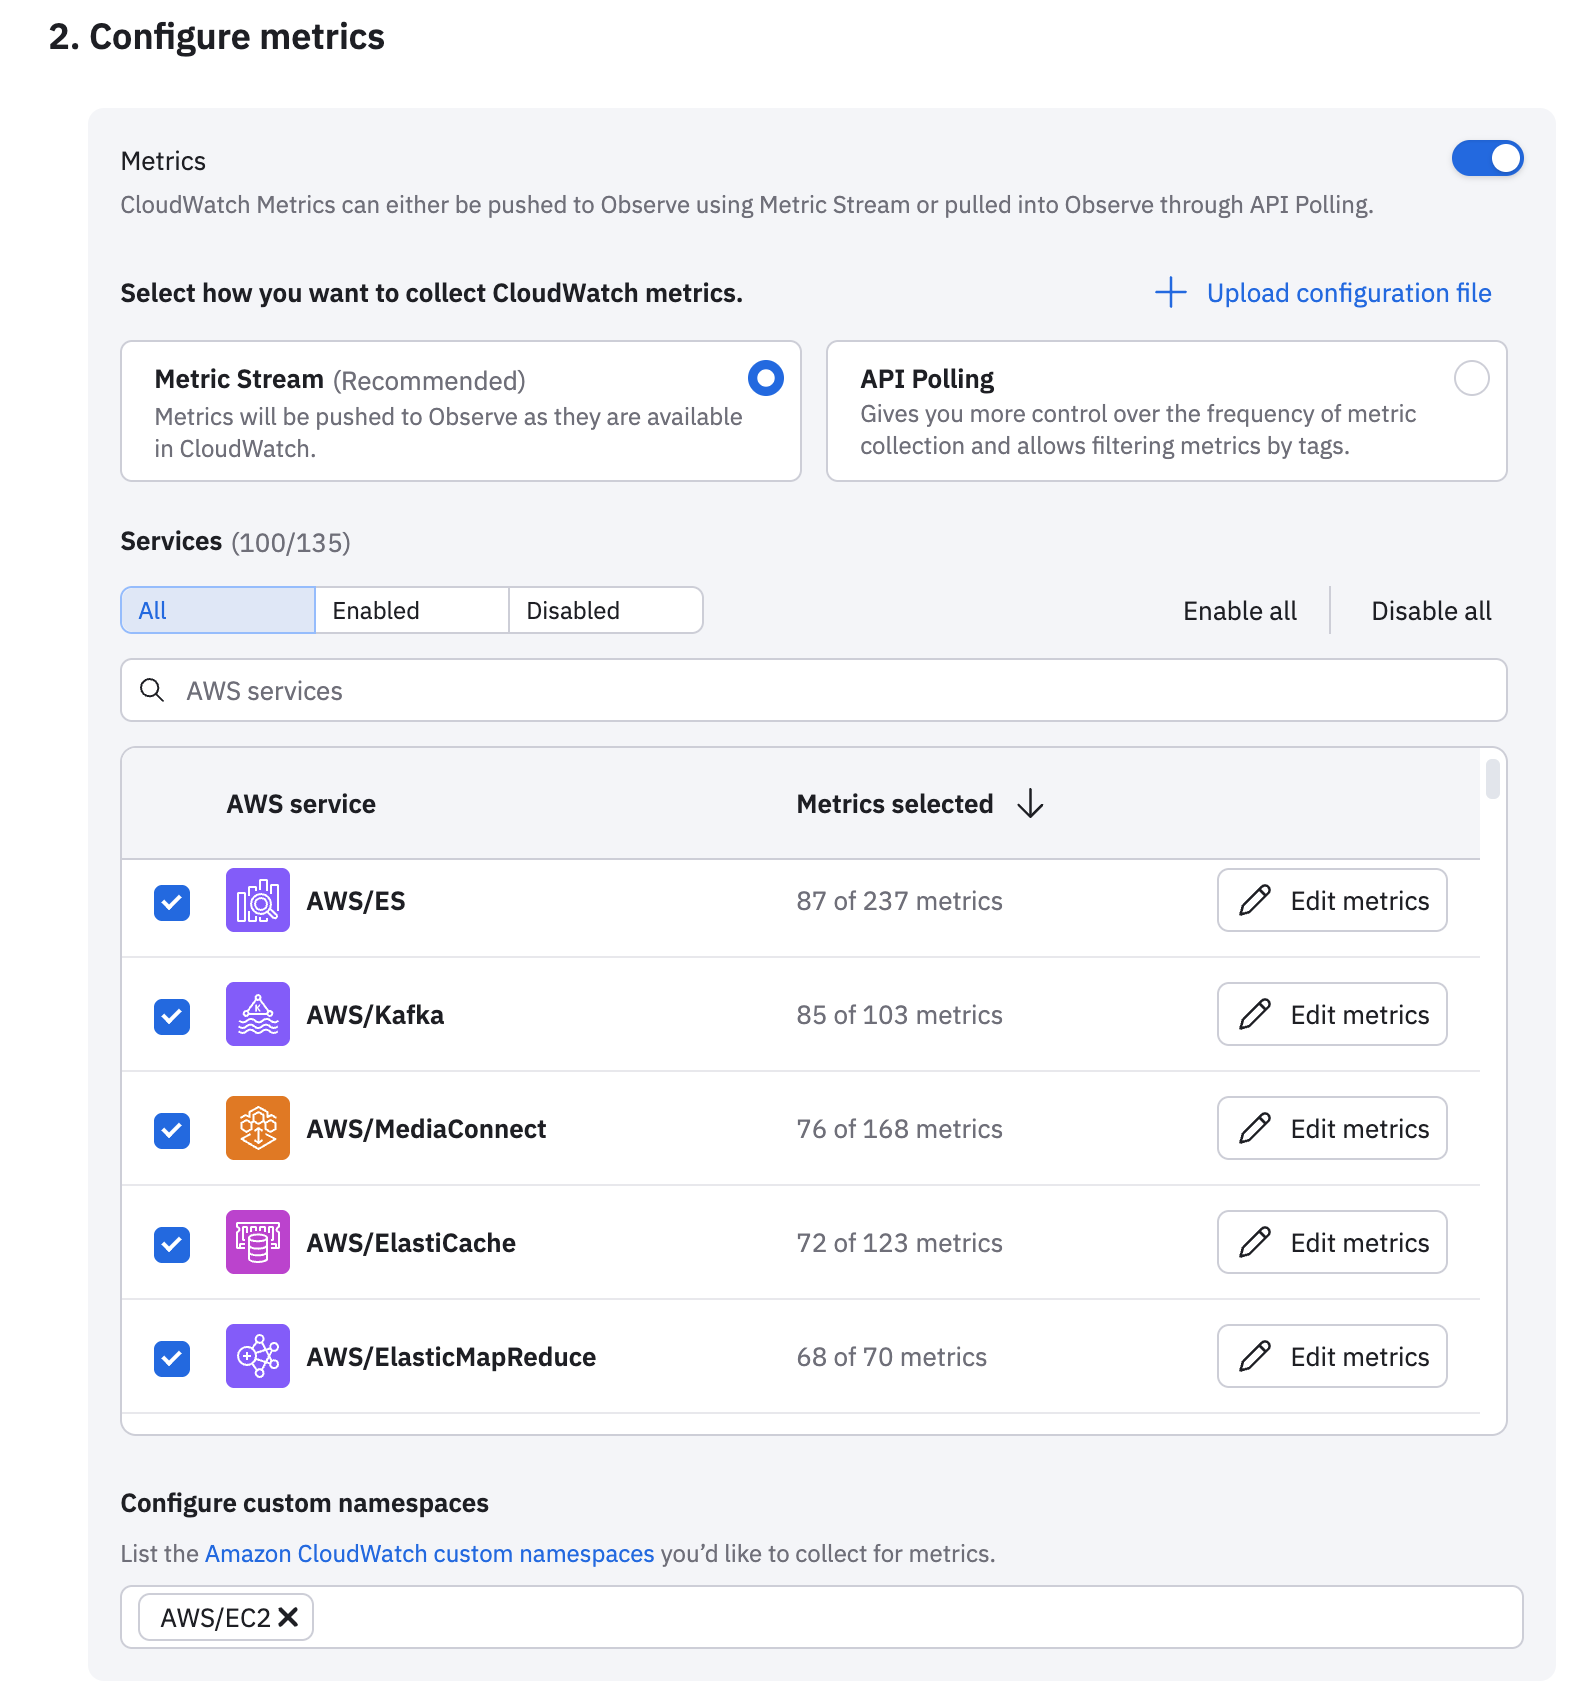
- Select the AWS service you want to collect data from, then click Edit metrics for that service to select the metrics you want to collect. See AWS metrics for a full listing of AWS services and metrics available.
- List the namespace containers you want to collect metrics from. See Namespaces in the AWS documentation for more information about namespaces.
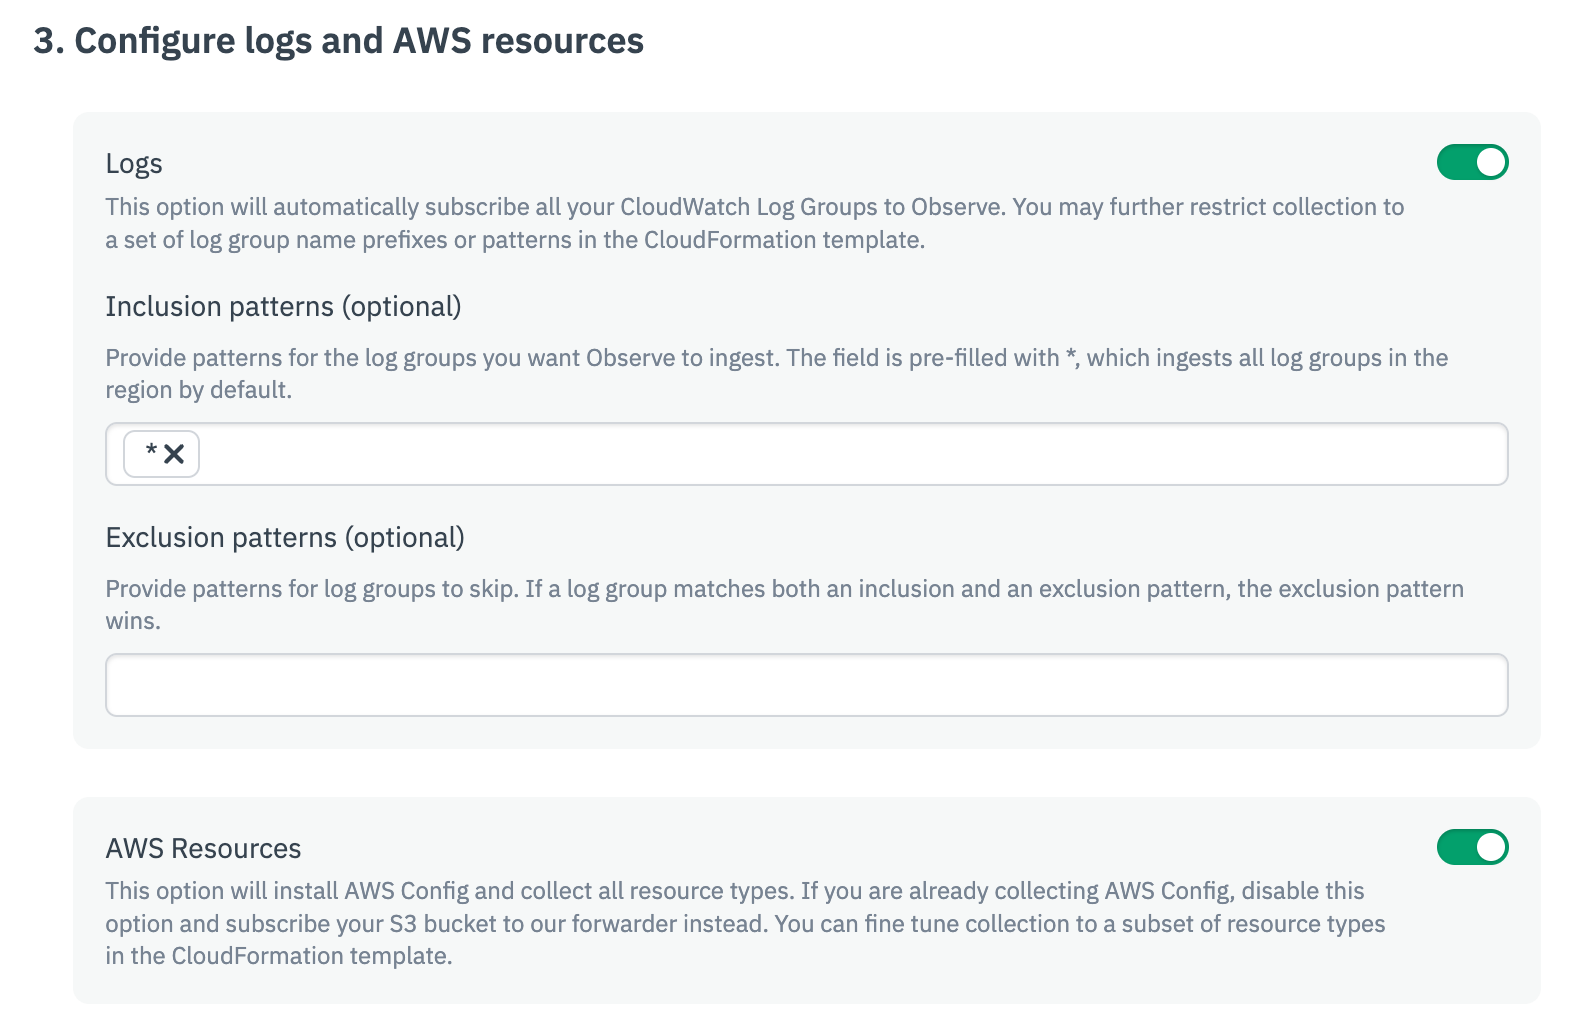
- In the Configure logs and AWS resources panel, provide inclusion and exclusion patterns for the logs you want to ingest, and whether or not you want to collect AWS resources.
- In the Forward files from S3 buckets panel, list the S3 buckets the Observe forwarder is allowed to read from. If you don't specify any buckets, the forwarder reads from all buckets. Make sure Amazon EventBridge is enabled for any S3 buckets you specify. See Enabling Amazon EventBridge in the AWS documentation for more information.
- Click Continue.
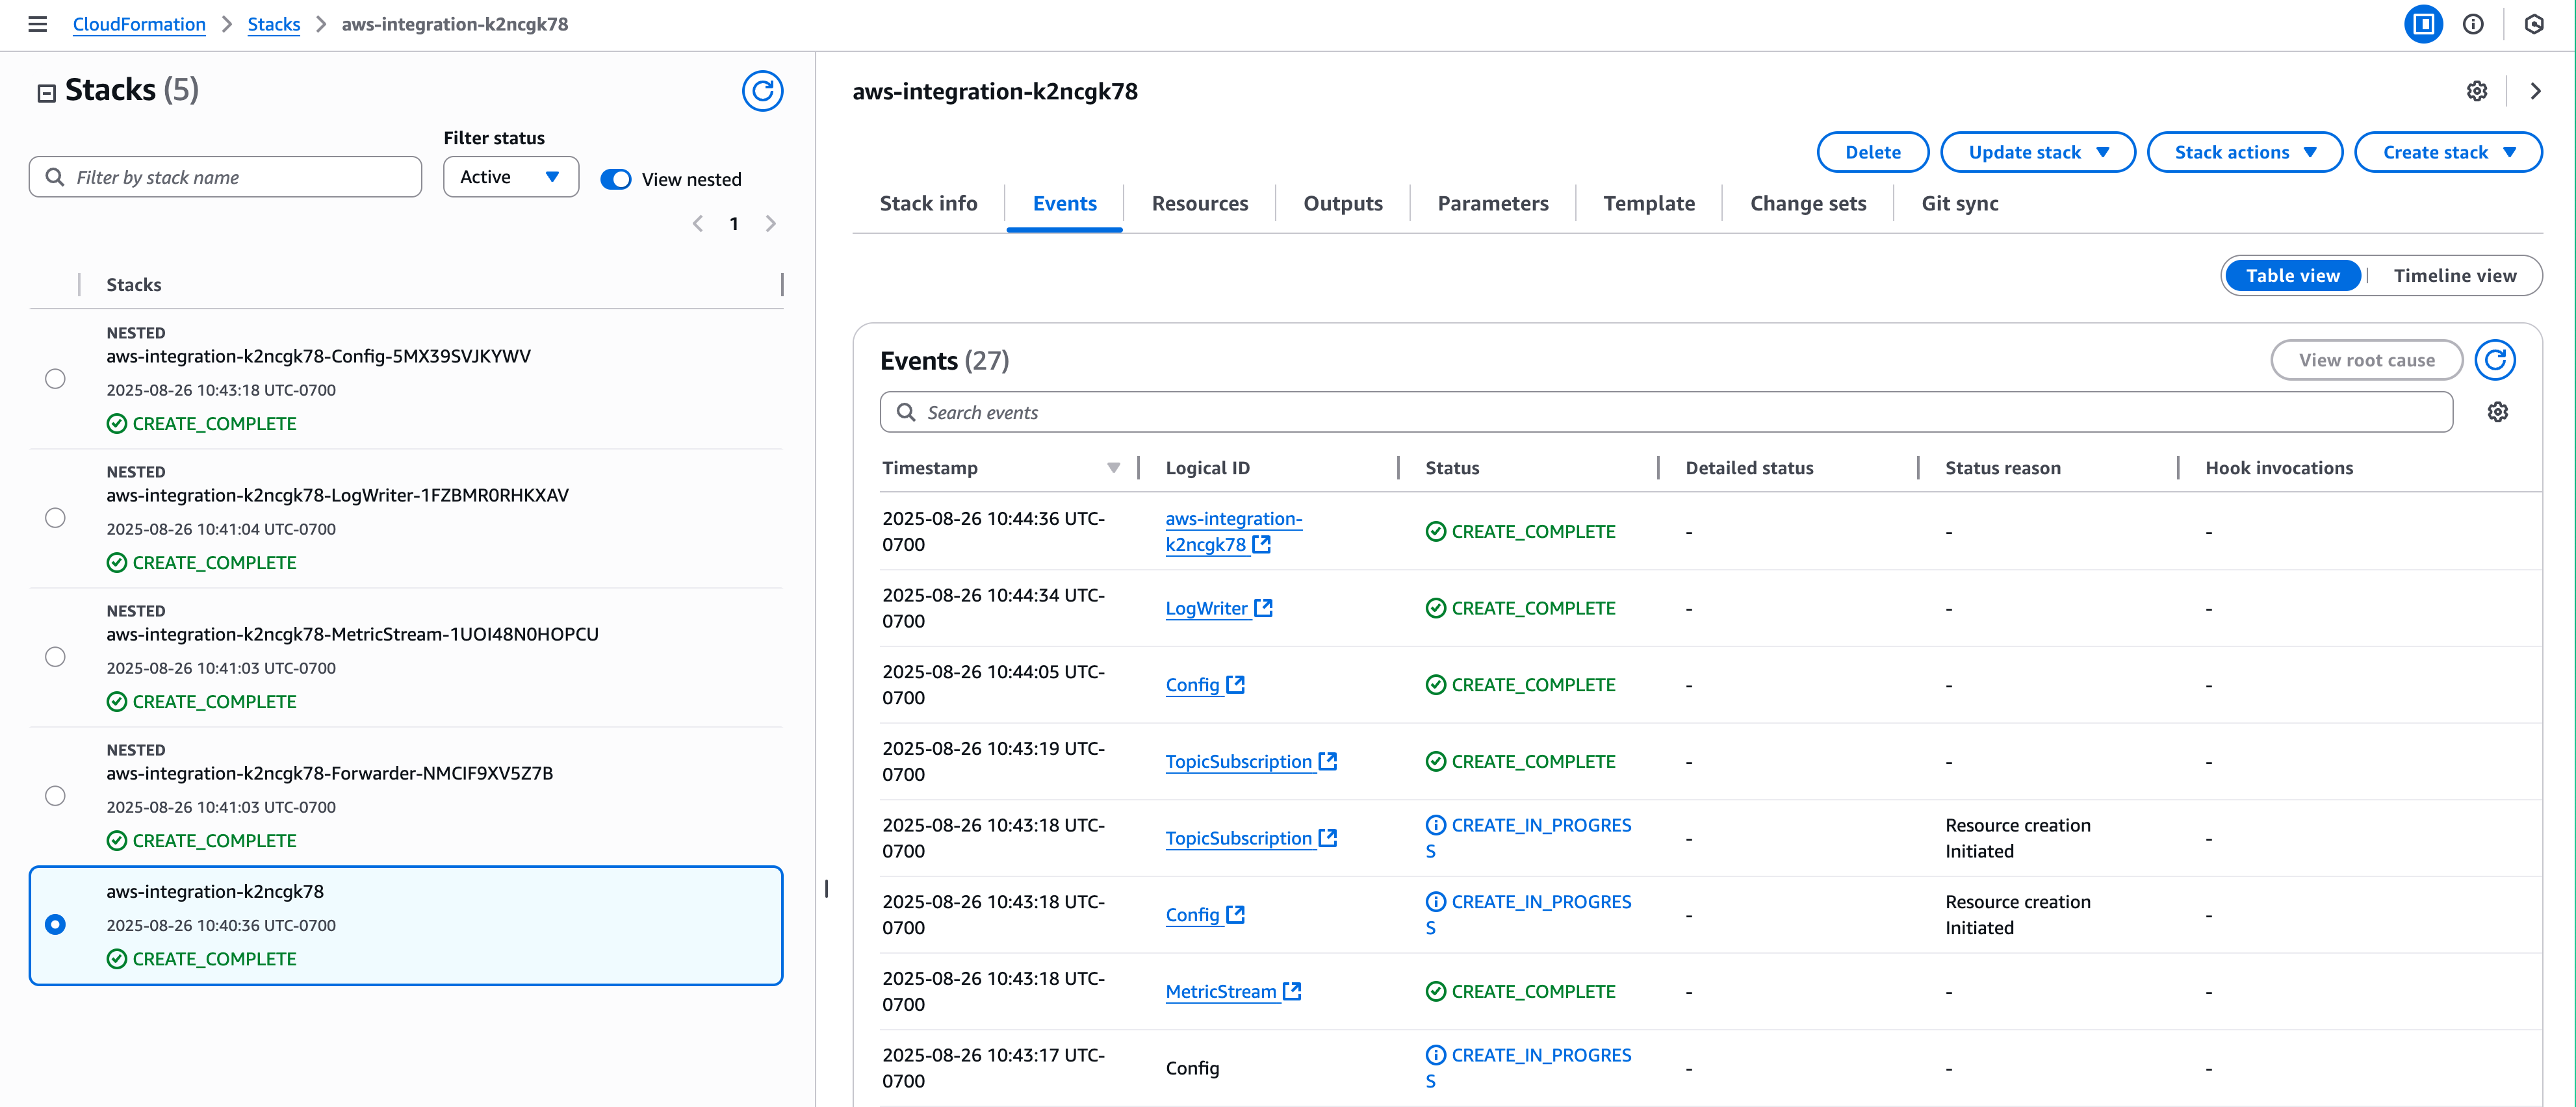
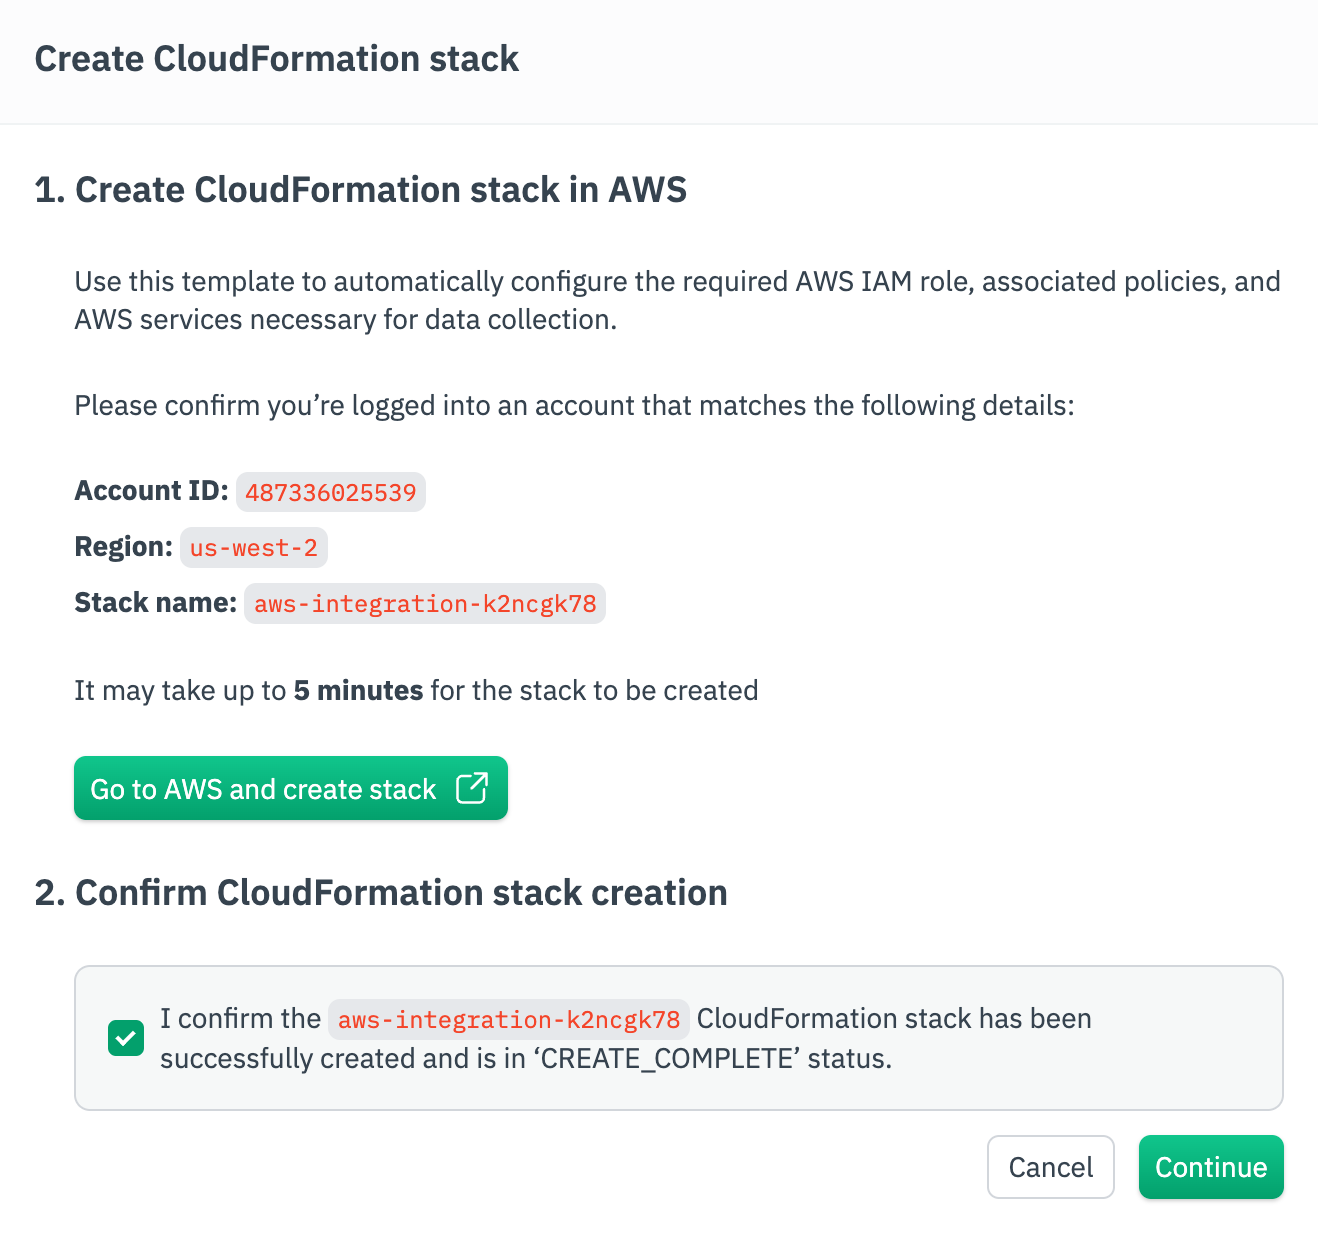
- Click Go to AWS and create stack. This will use the template to automatically configure the required AWS IAM role, associated policies, and AWS services necessary for data collection. Wait until you see the CREAT_COMPLETE status in AWS. This can take several minutes.
- Return to Observe and confirm the CloudFormation stack creation, then click Continue.
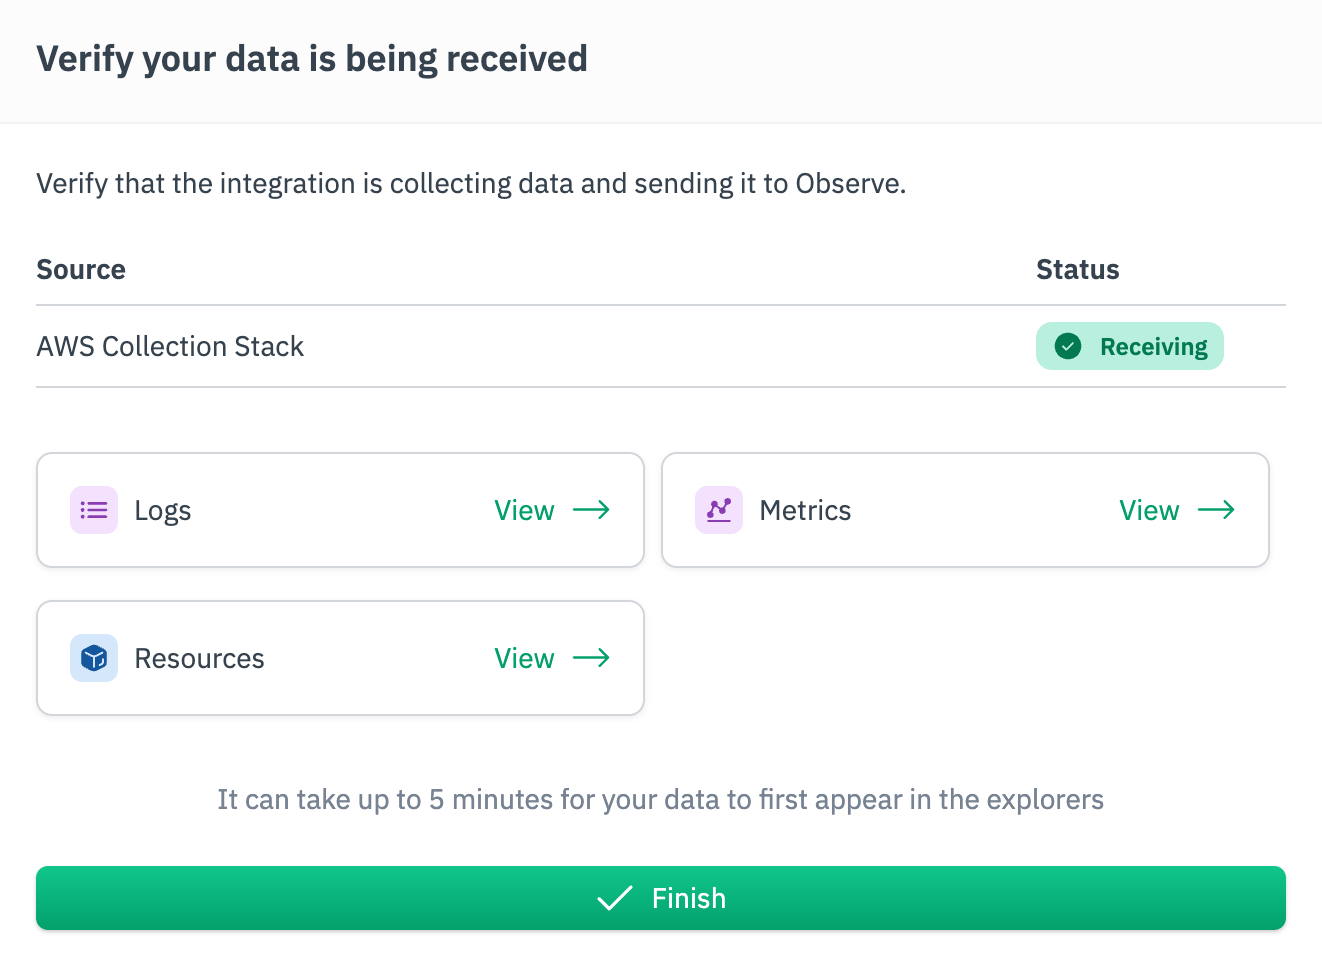
- Wait a few minutes, then click View in each tab to verify you are receiving logs, metrics, and resources data. When you are done verifying, click Finish.
Use Terraform to get your AWS data into Observe
You can use Terraform to ingest AWS data into Observe.
- To push AWS logs, configs, and metrics data to Observe, use the Observe stack module.
- To pull metrics data into Observe, configure a CloudWatch metrics poller.
Updated 6 months ago