Jira tickets
Ingest Jira ticket information using the Jira REST API and an outgoing Webhook.
To do this, you need the following items:
Your Jira login credentials
Note
You must have administrative access to Jira.
Your Observe Customer ID
An Observe ingest token
Note
Some Observe instances may optionally use a name instead of Customer ID; if this is the case for your instance, contact your Observe Data Engineer to discuss implementation. A stem name will work as is, but a DNS redirect name may require client configuration.
Configuring an Outgoing Webhook Automation Rule
View the Jira Automation Rule documentation.
Log into Jira and go to Settings > Systems > Automation Rules
On the Automation Rules page, choose Create rule to display a list of triggers.
Click Issue created and then Save.
From the Add component page, select New action from the list. Scroll to the Notifications section and choose Send web request.
Fill in the HTTP target detail:
Webhook URL:
https://{OBSERVE_CUSTOMER}.collect.observeinc.com/v1/http/jiraHeader name: Authorization
Header value: Bearer {Observe Customer ID} {Observe Ingest Token}
HTTP method: POST
Webhook body: issue data
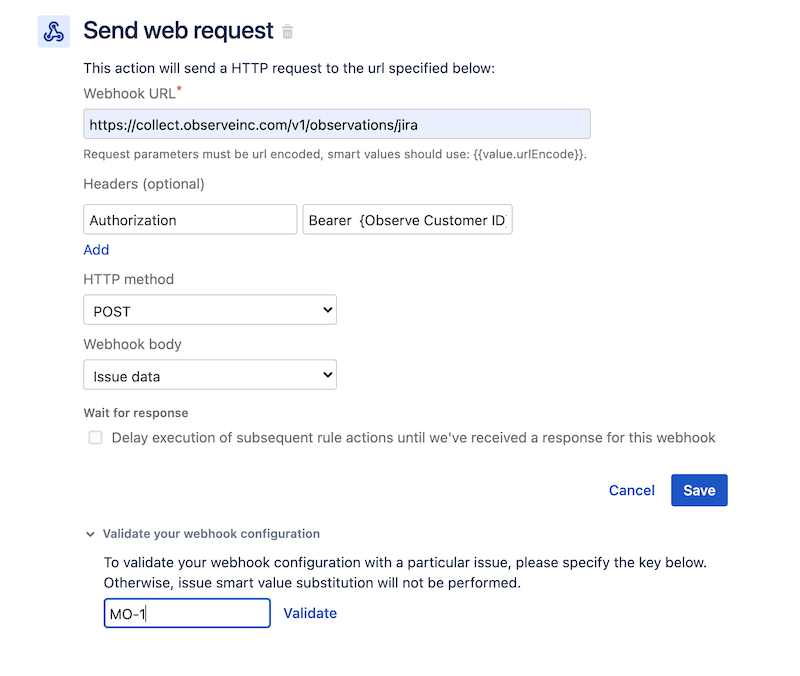
Figure 1 - JIRA Settings
Validate the webhook
Note
A valid project id must be entered to validate or Jira may return a 400.
Click to expand the Validate your webhook configuration section.
Enter an open ticket or project id to populate the test message.
Click Validate.
Confirm that you receive the
HTTP/1.1 202 Acceptedresponse.
Note
A key must be entered to validate or Jira may return a 400.
Click Save to save the automation rule and webhook configuration.
Give your automation rule a name such as “Observe-webhook”
Click Turn it on to enable.
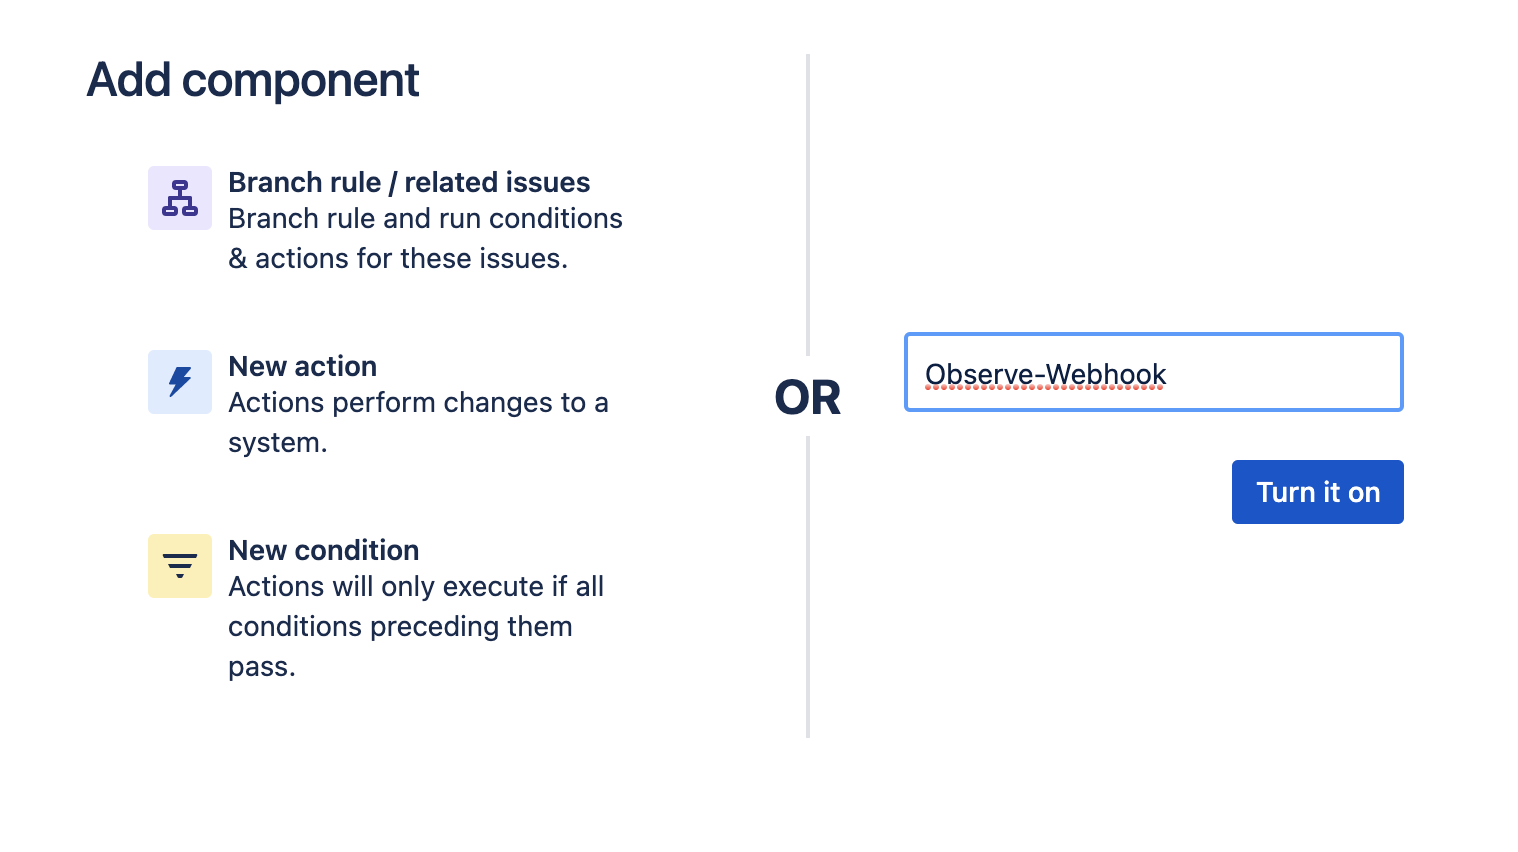
Figure 2 - Adding a Component
Verify Ticket Data Ingestion
Wait for, or initiate a ticket status change.
Log into Observe and open the source dataset associated with your Datastream in a worksheet.
Open the OPAL console and apply the following filters:
filter OBSERVATION_KIND = "http"
filter contains(string(EXTRA.path),"jira")
Verify ticket data exists.

Figure 3 - Jira data in a Worksheet