Zendesk tickets
Ingest Zendesk ticket information by configuring a Webhook and trigger in Zendesk.
To do this, you need the following information:
Your Zendesk login credentials
Your Observe Customer ID
An Observe ingest token
Note
Some Observe instances may optionally use a name instead of Customer ID; if this is the case for your instance, contact your Observe Data Engineer to discuss implementation. A stem name will work as is, but a DNS redirect name may require client configuration.
Configuring an Outgoing Webhook
log into Zendesk and go to Admin > Settings > Extensions.
On the Extensions page, choose Add target to display a list of target types. Choose HTTP target.
Add the HTTP target details.
Title - Observe Webhook
Url -
https://{OBSERVE_CUSTOMER}.collect.observeinc.com/v1/http/zendeskMethod - POST
Content type - JSON
Basic Authentication
Select Enabled.
Username: your Observe Customer ID
Password: your Observe Ingest Token
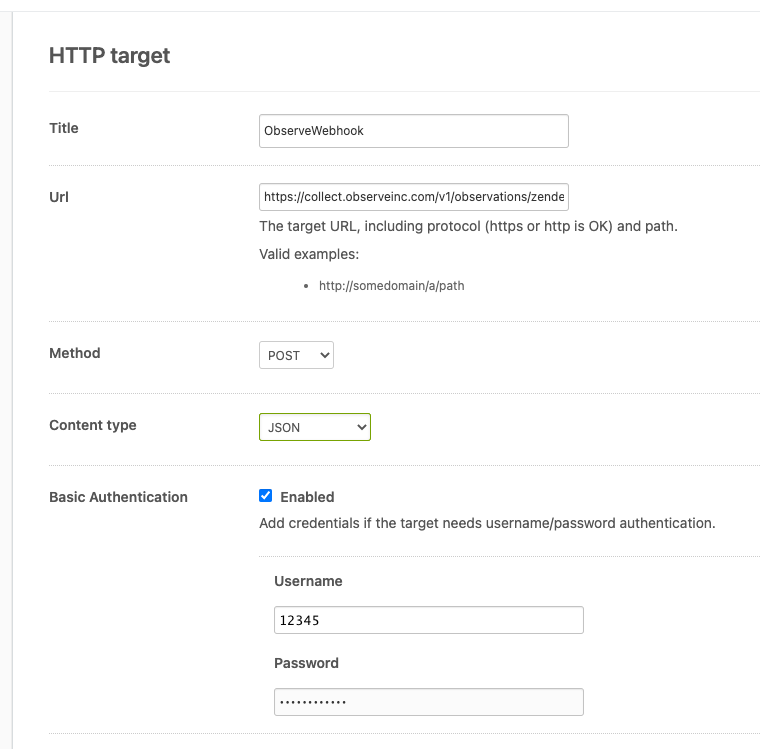
Figure 1 - Zendesk HTTP target values
Test the webhook
Select Test target from the menu.
Choose Submit.
In the JSON body text field, provide a valid JSON body, such as
{"message":"Hello Zendesk!"}.Choose Submit.
Confirm that you receive the response
HTTP/1.1 202 Accepted.
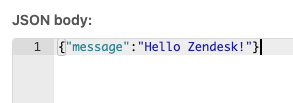
Figure 2 - Zendesk JSON body example
If the JSON body text appears highlighted in red, this means you did not get a success response. Correct your configuration and try again.
Save the webhook configuration.
Select Create target from the menu.
Choose Submit.
Configuring the trigger in Zendesk
Go to Admin > Business Rules > Triggers.
On the Triggers page, select Add trigger.
Add the trigger details:
Trigger name - Observe Trigger
Description - Send webhook to Observe
Category - Notifications
Conditions -
Under Meet ANY of the following conditions, select the desired condition. For example, Status Changed.
Actions:
Select Notify target in the left menu.
Select the name of your Observe webhook from the right menu. For example, Observe Webhook.
In the JSON body text field, provide the desired payload: For example,
Sample JSON
{
  "title":"{{ticket.title}}",
  "description":"{{ticket.description}}",
  "url":"{{ticket.url}}",
  "id":"{{ticket.id}}",
  "external_id":"{{ticket.external_id}}",
  "via":"{{ticket.via}}",
  "status":"{{ticket.status}}",
  "priority":"{{ticket.priority}}",
  "requester":"{{ticket.requester.details}}"
}
Choose View available placeholders to see a list of available fields.
Choose Create.
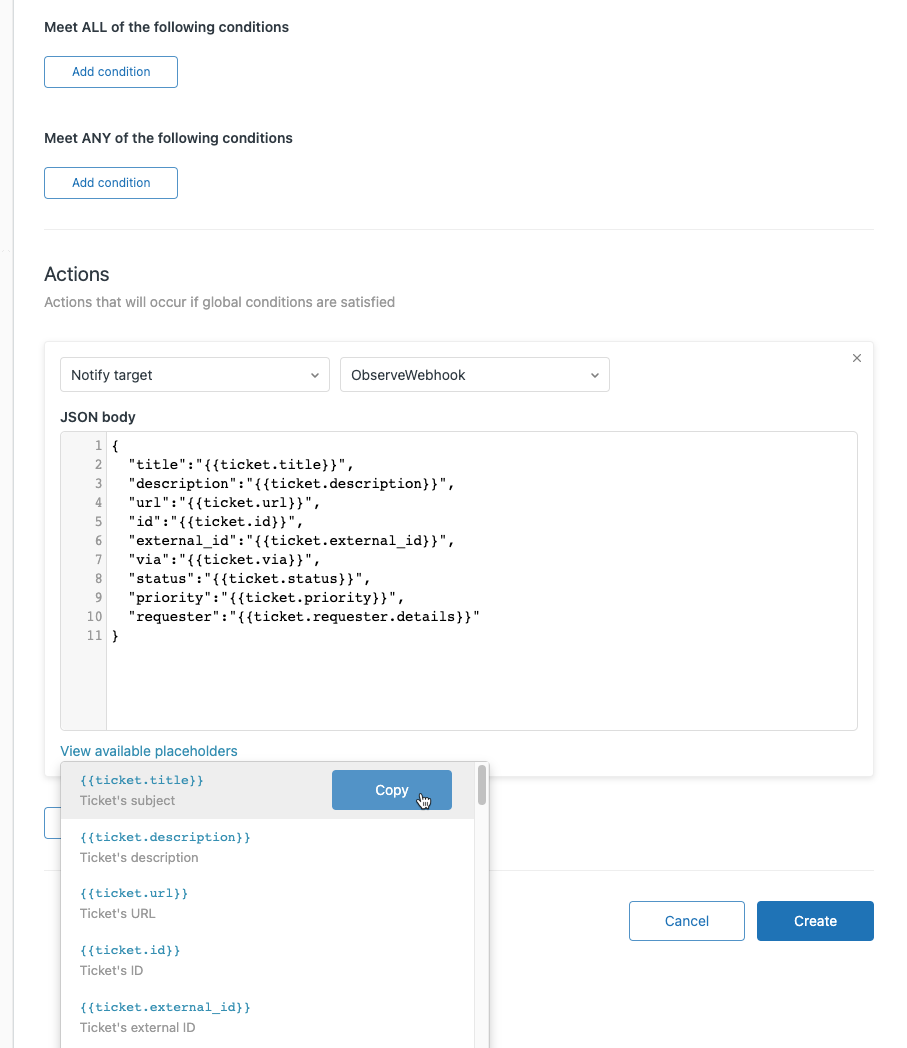
Figure 3 - Zendesk JSON body example
Verifying ticket data ingestion
Wait for or initiate a ticket status change.
Log into Observe and open the source dataset associated with your Datastream in a worksheet.
Open the OPAL console and apply the following filters:
filter OBSERVATION_KIND = "http"
filter contains(string(EXTRA.path),"zendesk")
Verify that you can find ticket data:
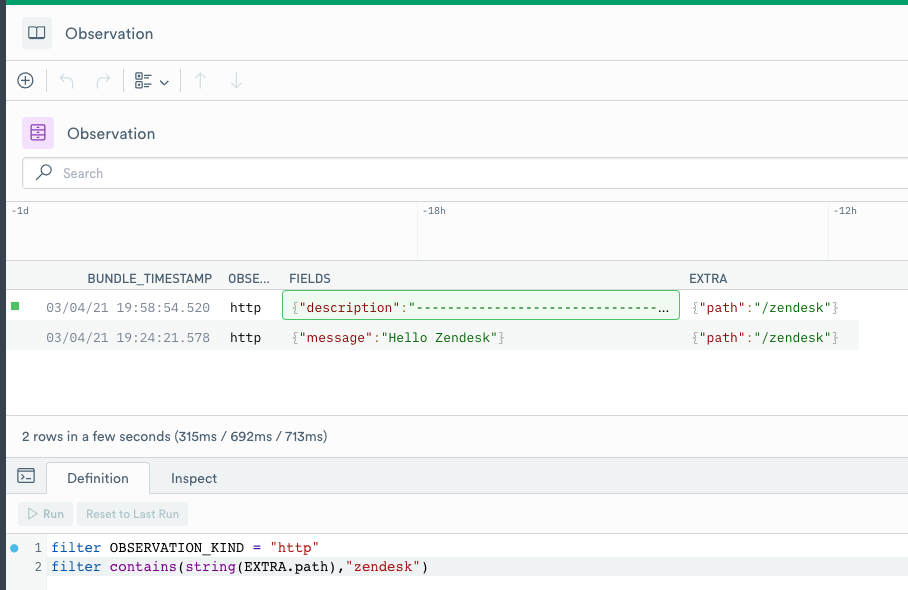
Figure 4 - Zendesk data in a Worksheet