

Shape host system metrics
To understand how metrics work in Observe by Snowflake, we can walk through a tutorial sequence of creating, ingesting, shaping, and viewing metrics.
Create metrics
The process data on a Unix system, such as a macOS laptop or Linux EC2 instance, can be used as a metric source.
Use the shell script to send data from ps to Observe by Snowflake every five seconds as a Datastream called metrics-test. Before you convert it to JSON, the original ps output looks something like this:
| Field | Description |
|---|---|
| PID | Process ID |
| RSS | Resident set size (memory used, kb) |
| TIME | Accumulated CPU time |
| %CPU | Percent of CPU utilization |
| COMMAND | Process name |
As the data is ingested into a Datastream, Observe by Snowflake adds a timestamp, an ingest type, and metadata about the Datastream. In this example, the process data is in FIELDS as a JSON object:
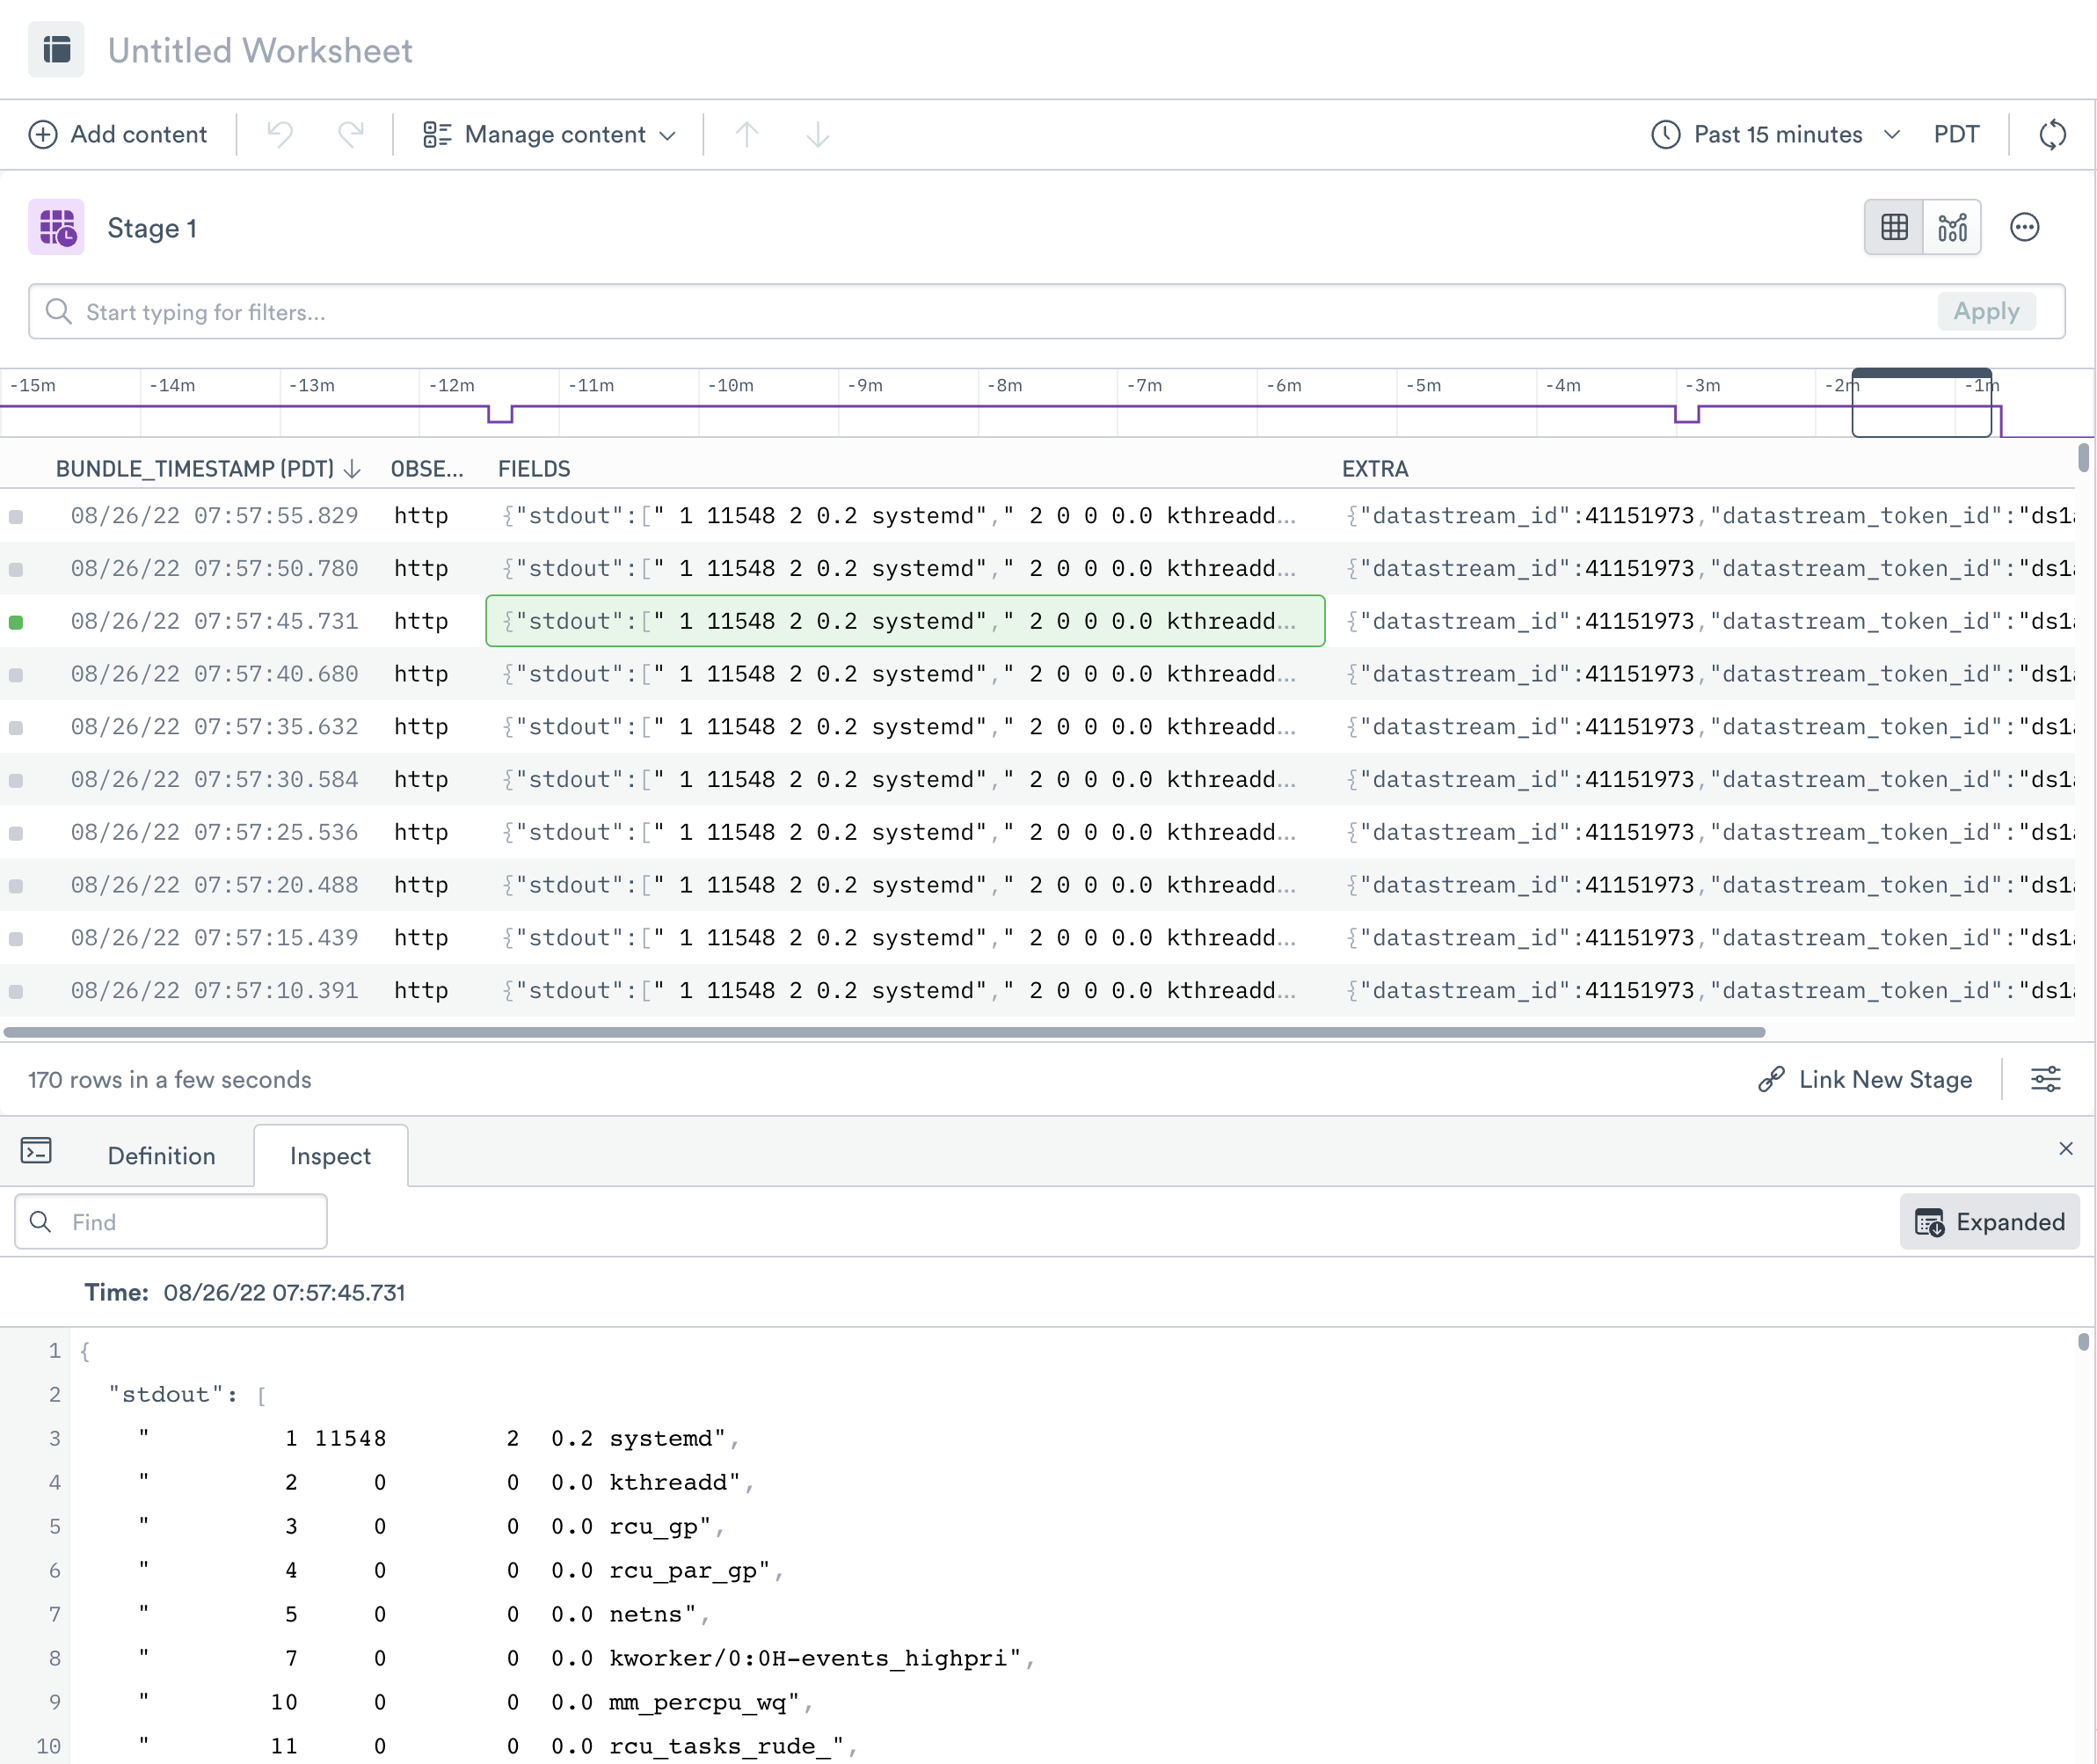
Since you perform most of the shaping with OPAL, the walkthrough focuses on verbs and functions rather than UI actions.
The first step to converting the Datastream into metrics is shaping the data using OPAL.
-
Open a new Worksheet for the existing metrics-test event dataset.
-
In the OPAL console, extract the necessary fields with
flatten_leaves,pick_col, and
extract_regex.
<OpalCodeBlock
code={
`// Flatten_Leaves creates a new row for each set of process data,
// corresponding to one row in the original output
// Creates _c_FIELDS_stdout_value containing each string
// and _c_FIELDS_stdout_path for its position in the JSON object
flatten_leaves FIELDS.stdout// Select the field that contains the data you want. Rename the field too.
// pick_col must include a timestamp, even if you aren't explicitly using it
pick_col BUNDLE_TIMESTAMP, ps:string(_c_FIELDS_stdout_value)// Extract fields from the ps string output with a regex
extract_regex ps, /^\s+(?P\d+)\s+(?P \d+)\s+(?P \d+)\s+(?P \d+.\ The reformatted data now looks like the following:
| BUNDLE_TIMESTAMP | ps | command | pcpu | cputimes | rss | pid |
| --------------------- | ------------------------------ | -------- | ---- | -------- | ----- | --- |
| 02/24/21 16:14:03.151 | 1 12752 1 2.0 systemd | systemd | 2.0 | 1 | 12752 | 1 |
| 02/24/21 16:14:03.151 | 2 0 0 0.0 kthreadd | kthreadd | 0.0 | 0 | 0 | 2 |
| 02/24/21 16:14:03.151 | 3 0 0 0.0 rcu_gp | rcu_gp | 0.0 | 0 | 0 | 3 |Note that you could also extract fields with a regex from the UI by selecting Extract from text from the column menu and using the Custom regular expression method. Although the other steps still require writing OPAL statements.
-
Shape into narrow metrics:
<OpalCodeBlock
code={
`// Create a new object containing the desired values,
// along with more verbose metric names
make_col metrics:make_object("resident_set_size":rss, "cumulative_cpu_time":cputimes, "cpu_utilization":pcpu)// Flatten that metrics object to create one row for each value
flatten_leaves metrics// Select the desired fields, renaming in the process
// Also convert the value to float64, necessary for metric values
pick_col valid_from:BUNDLE_TIMESTAMP,
pid, command,
metric:string(_c_metrics_path), valuAfter shaping, it appears like this:
valid_from pid command metric value 02/24/21 16:14:03.151 1 systemd cpu_utilization 2.0 02/24/21 16:14:03.151 1 systemd resident_set_size 12752 02/24/21 16:14:03.151 1 systemd cumulative_cpu_time 1 02/24/21 16:14:03.151 2 kthreadd cpu_utilization 0.0 02/24/21 16:14:03.151 2 kthreadd resident_set_size 0 02/24/21 16:14:03.151 2 kthreadd cumulative_cpu_time 0 02/24/21 16:14:03.151 3 rcu_gp cpu_utilization 0.0 02/24/21 16:14:03.151 3 rcu_gp resident_set_size 0 02/24/21 16:14:03.151 3 rcu_gp cumulative_cpu_time 0 -
Register an interface to identify this dataset as containing metrics data:
<OpalCodeBlock
code={
`// Metric names are in field "metric", values in "value"
interface "metrAn
interface "metric"statement tells Observe by Snowflake several important things about a Dataset:This is a narrow metric Dataset, each row representing one metric point. The values in field
metriccontains the metric names, such ascpu_utilization.
* The values in fieldvaluecontains the metric values, such as2.0.
* The values invalid_fromcontains the time of the observation
* The other fields (pidandcommand) contain tags that provide additional context -
Save the shaped data as a new Dataset.
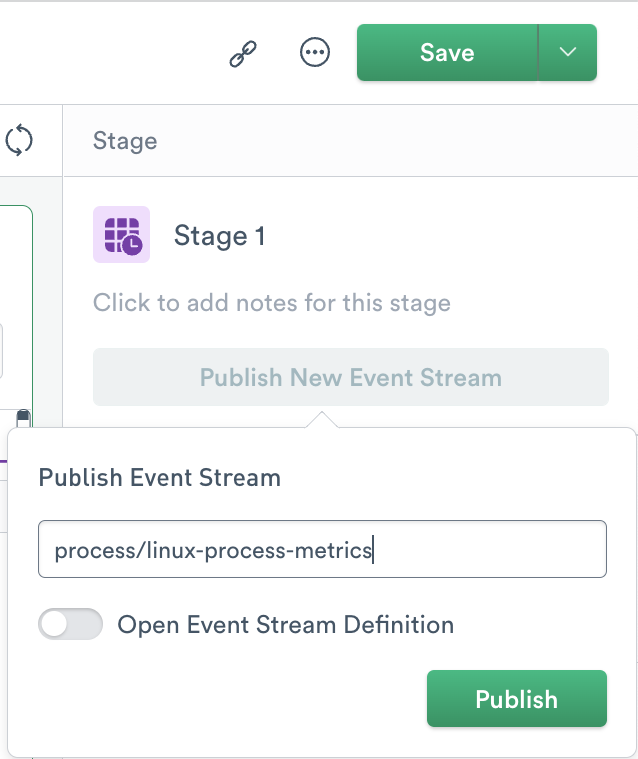
After shaping the data, save the results by publishing a new event stream. This creates a new Dataset containing the metric events and allows them to be used by other Datasets and Worksheets.
In the right menu, click Publish New Event Stream and give the new Dataset a name. For this example, you name it process/linux-process-metrics to create the dataset in a new process package. Click Publish to save.
-
View the metrics in Observe by Snowflake.
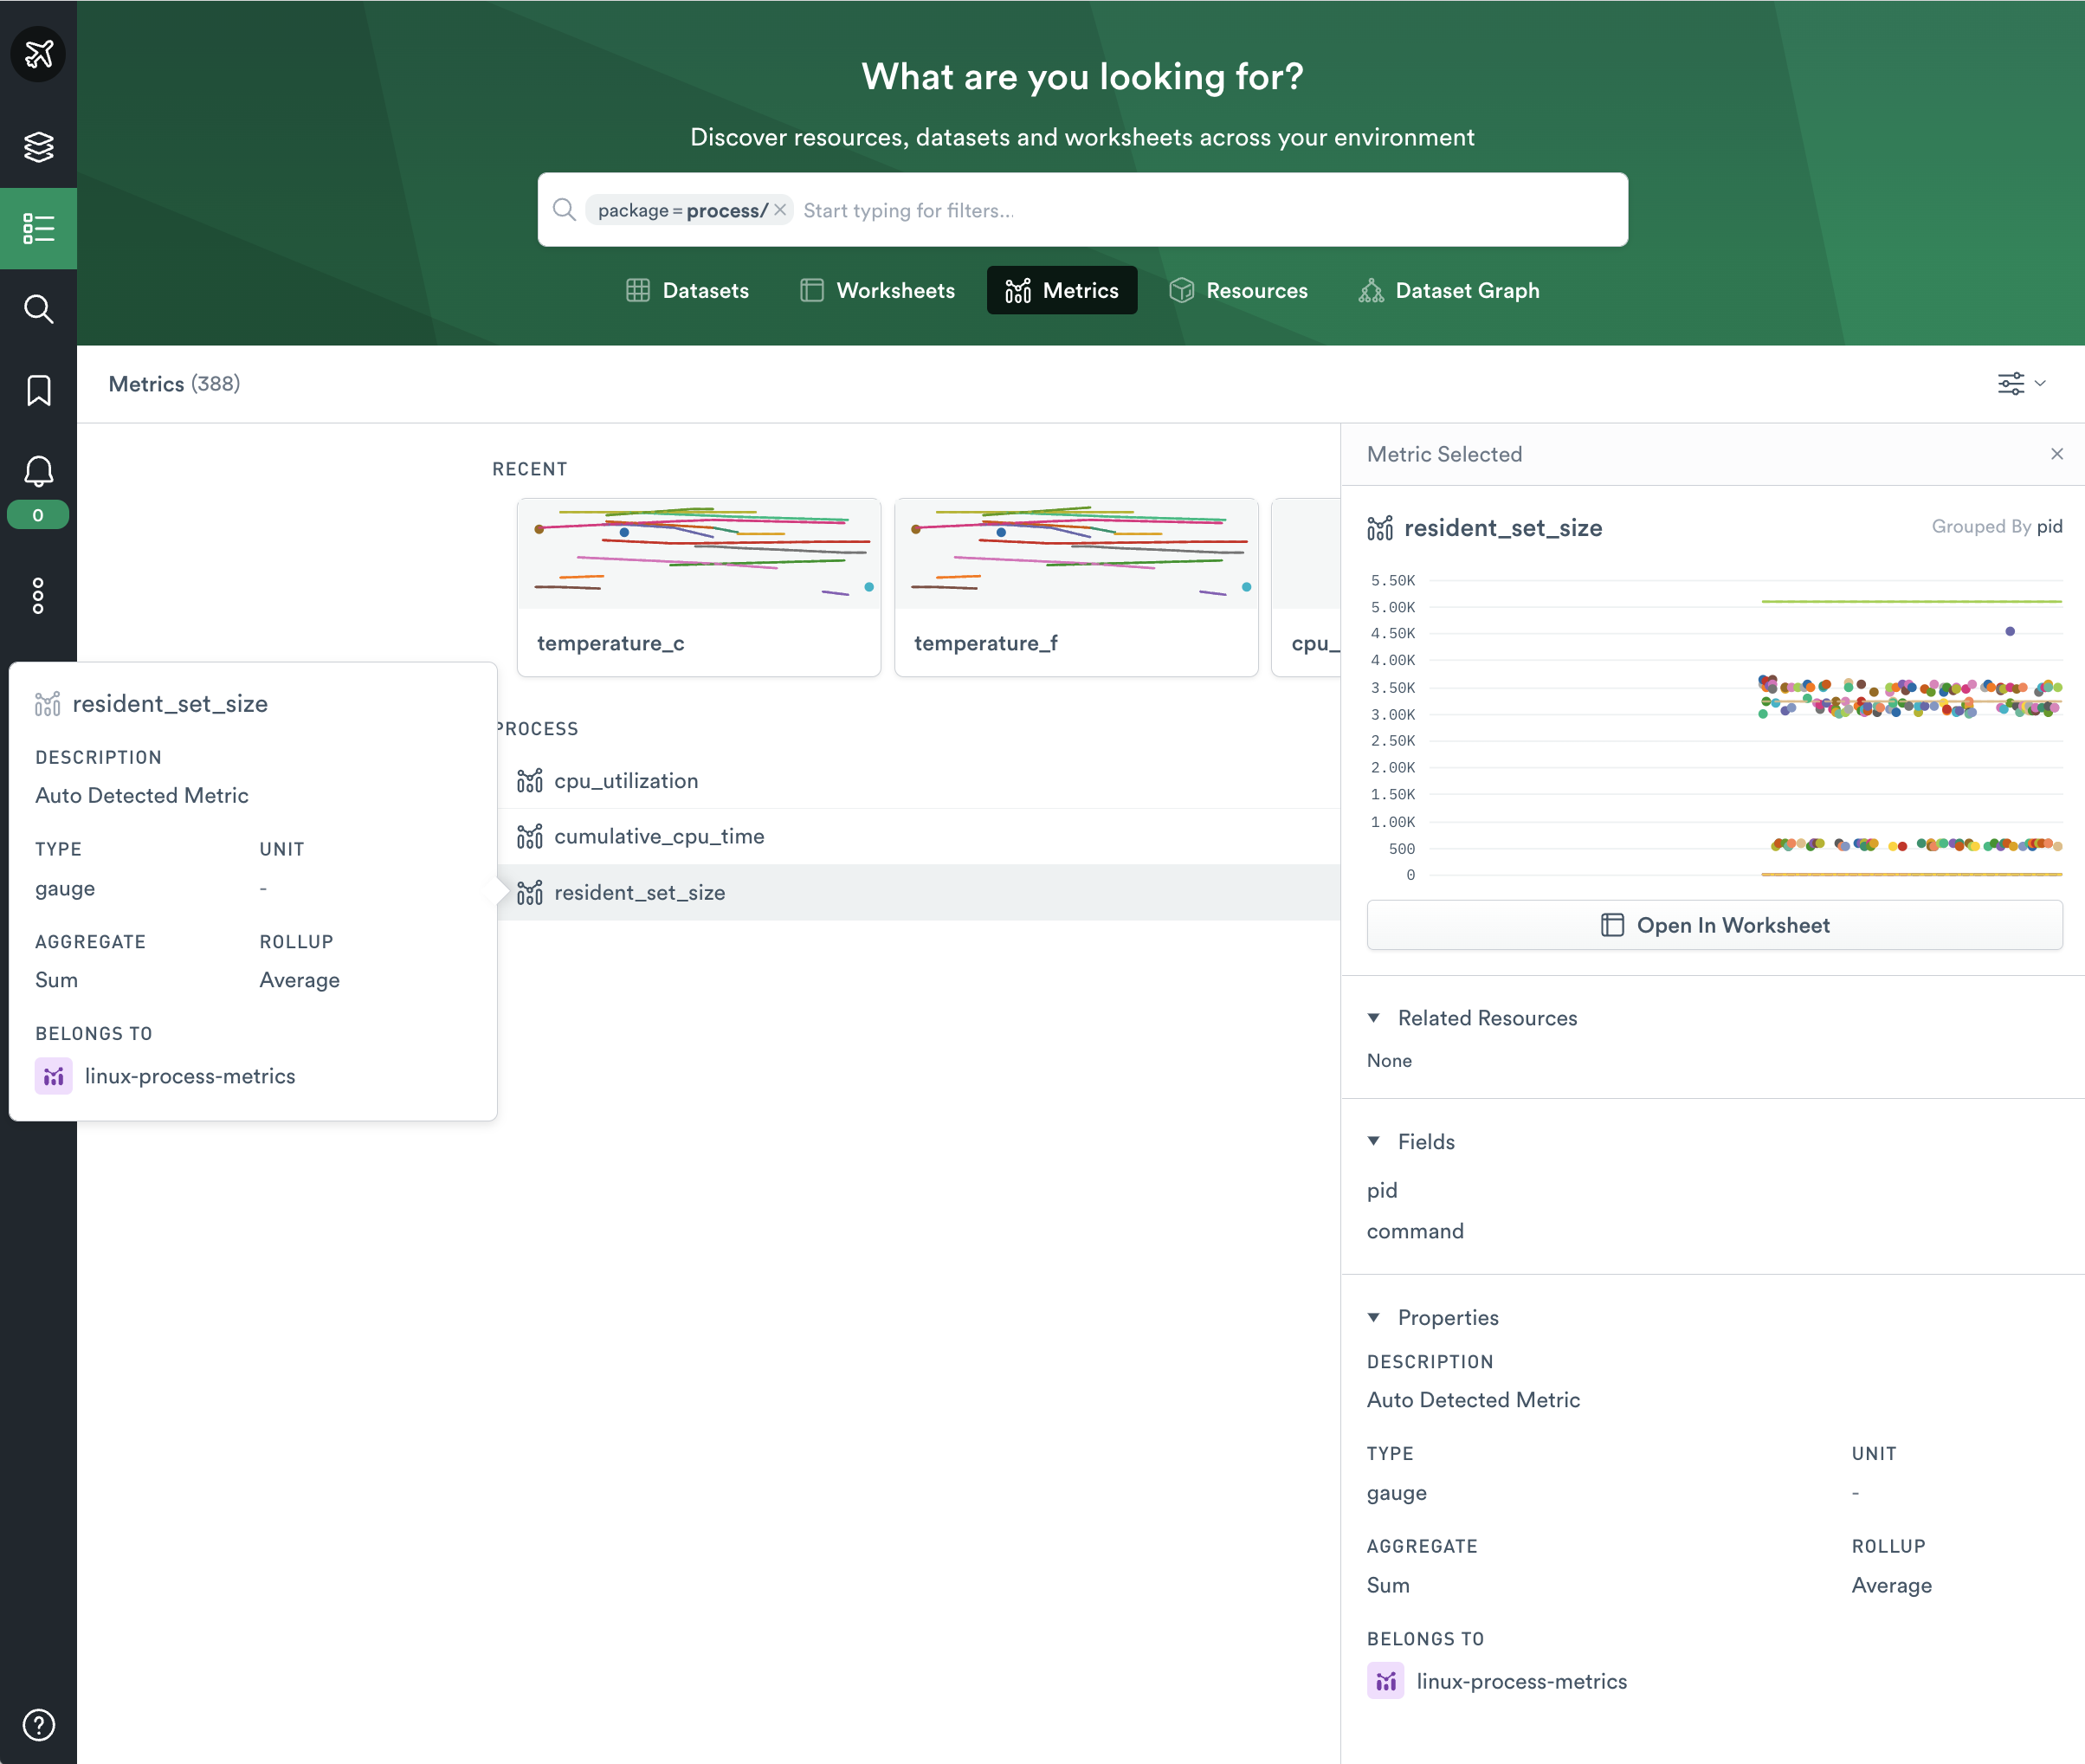
Now that you identified that the dataset contains metrics, Observe by Snowflake discovers the individual metrics without further shaping. This process takes a few minutes, after which you can find the new metrics in the Metrics tab of the Explore page.
-
Search for the package process to view only the metrics for this package. Click on a metric to view the details:
Advanced metric shaping
If auto-detected metrics incorrectly handle your data, you may also explicitly define the metrics of interest with the set_metric verb.
For example:
set_metric options(type:"cumulativeCounter", unit:"bytes", description:"Ingress reported from somewhere"), "ingress_bytes"
This statement registers the metric ingress_bytes as a cumulativeCounter, aggregating over time as a rate and across multiple tags as a sum. To learn more about allowed values for the rollup and aggregate options, see the OPAL verb documentation for set_metric. See Units of measurement for unit sizes and descriptions.
Observe by Snowflake is also able to pre-aggregate derived metrics; see Shape aggregated metrics for this tutorial.
Updated about 1 month ago