Generate dashboard reports
Learn how to generate and schedule dashboard reports.
Observe provides the ability to generate high resolution PDFs of a dashboard, on a schedule of your choosing.
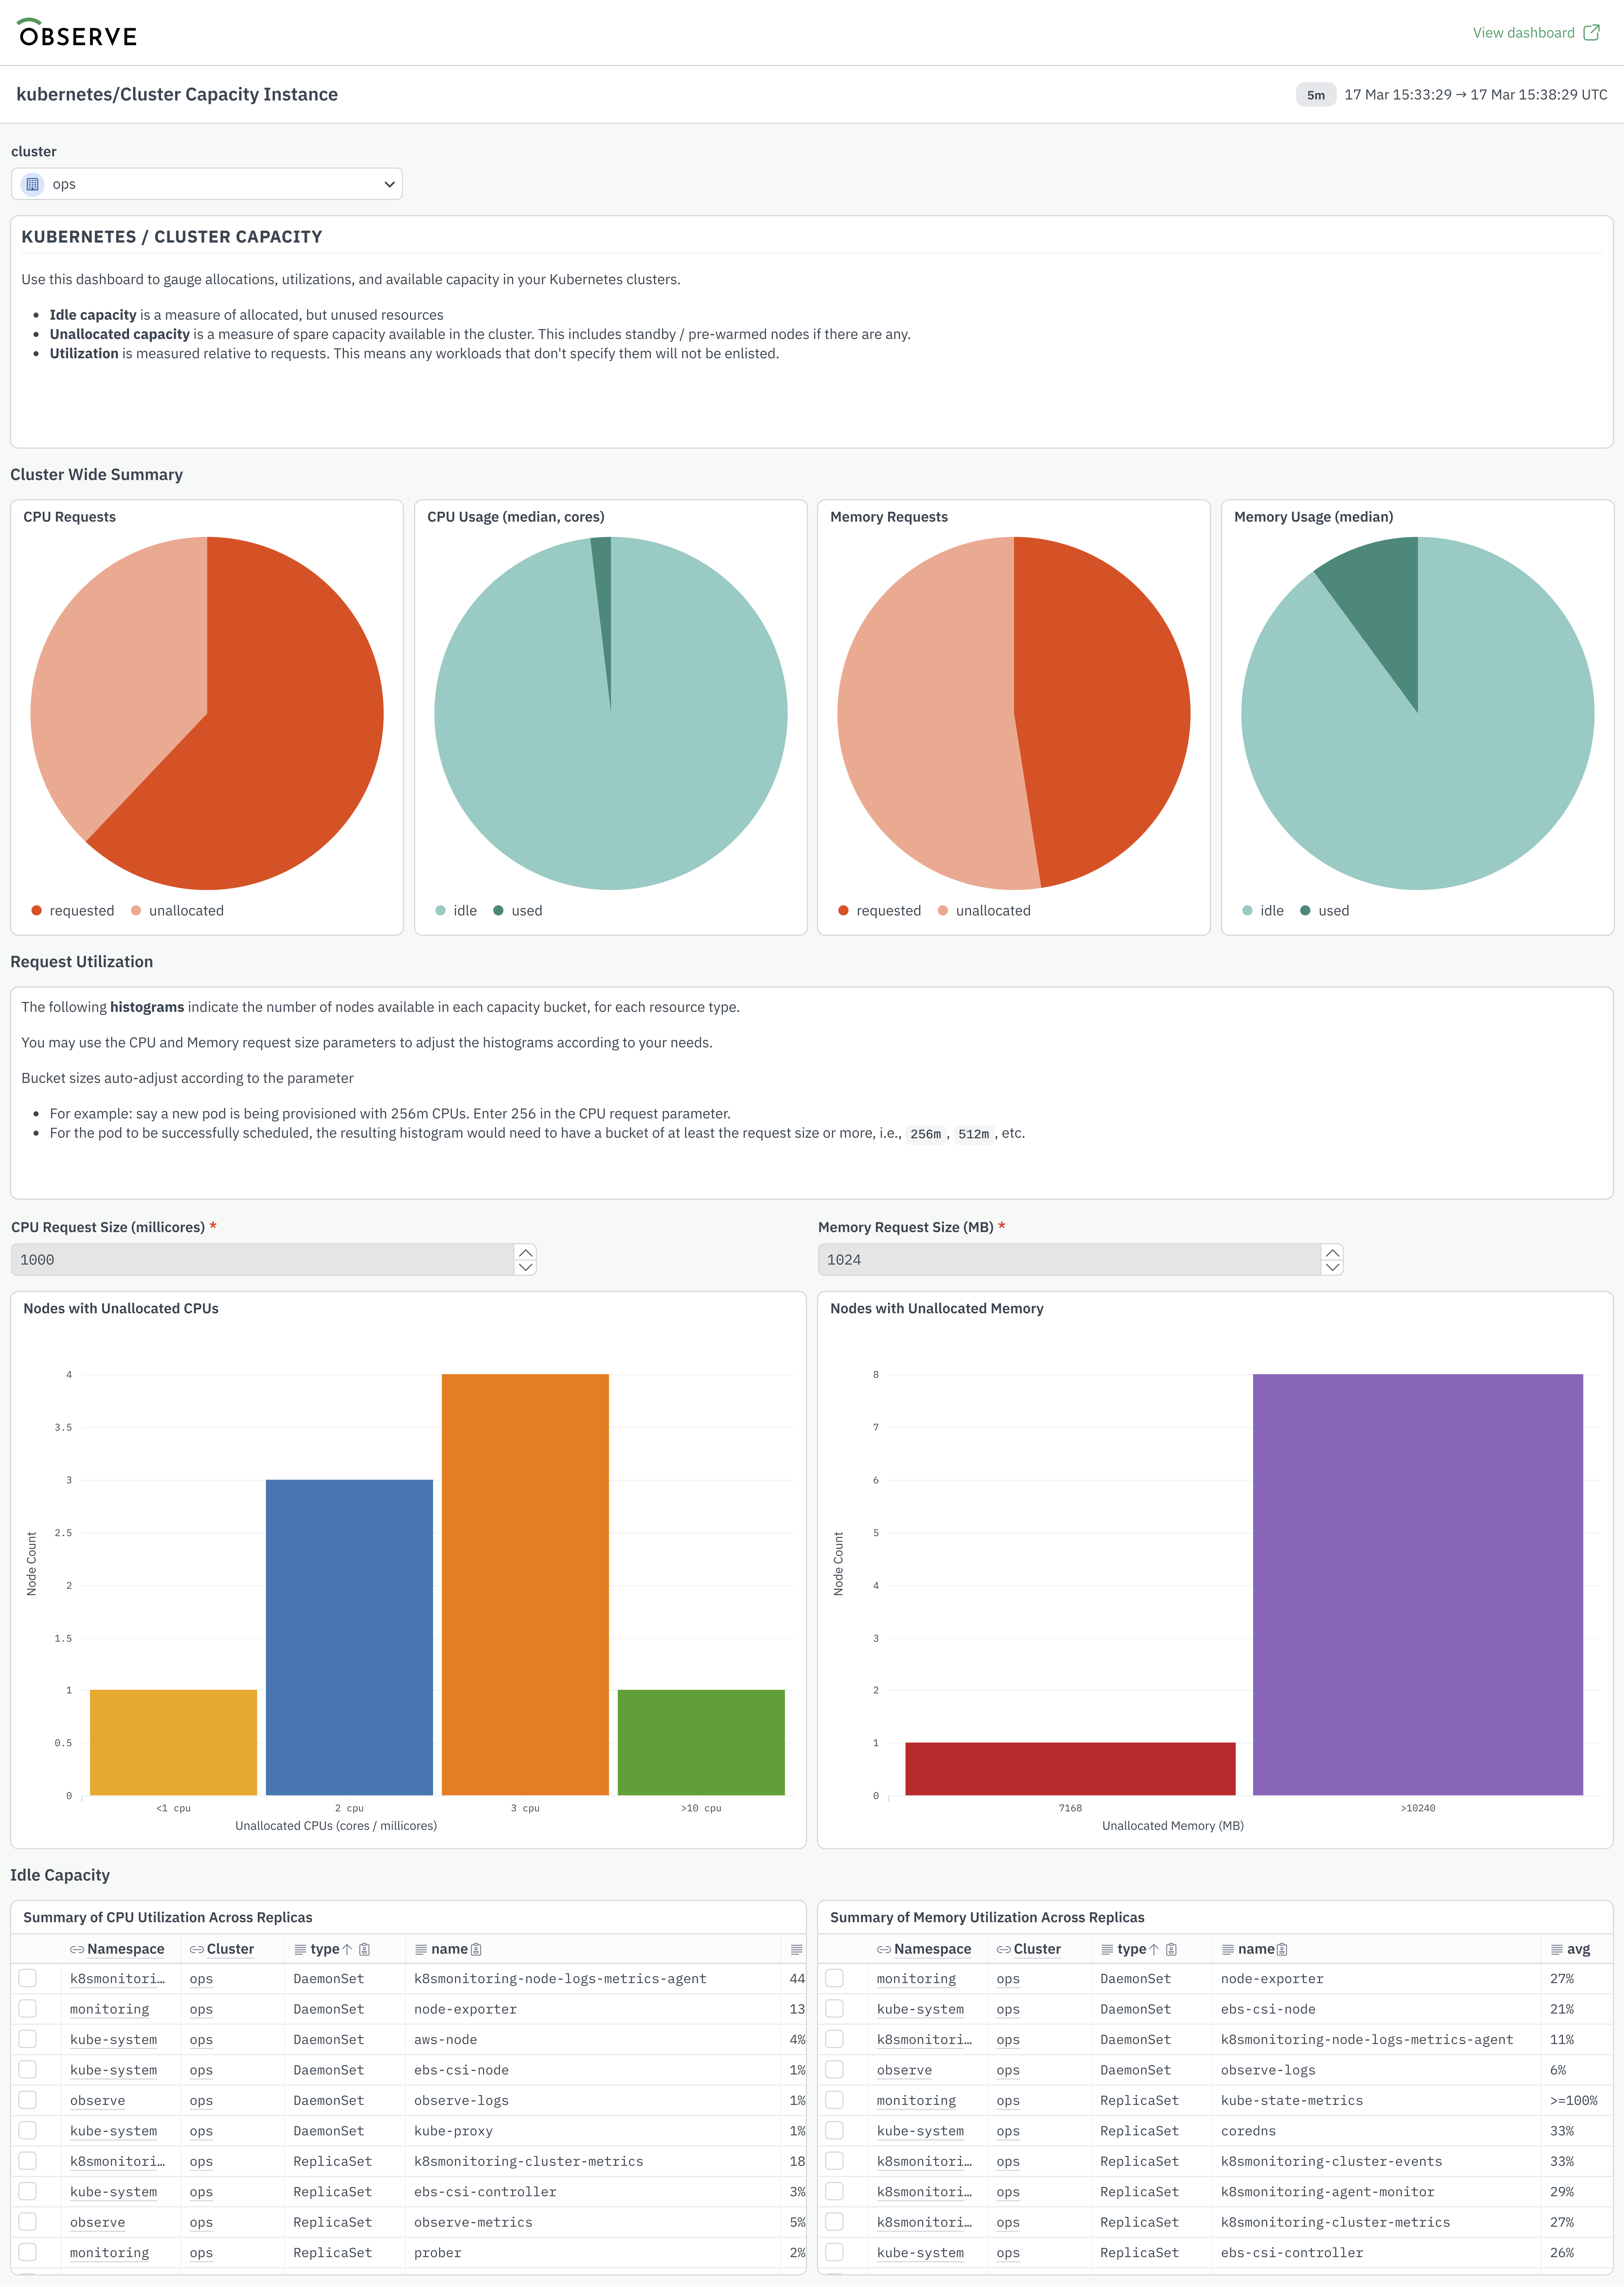
The resulting report PDF file is sent to email addresses that you specify, and is included as an email attachment.

Dashboard report permissions
The ability to create dashboard reports is granted by the Dashboard > Export privilege in the group settings.
Dashboard reports are run using the user ID that created the report. For example, if user Carl creates a dashboard report, the report generation process will execute with Carl's permissions, and the resulting PDF will contain results that Carl would see when viewing the dashboard directly. This is true even when a report has multiple recipients.
In order to create a dashboard report, the user must also have view access to the dashboard they want to scheduled a report from.
Dashboard report behaviors
If your dashboard has input parameters, you can set the report parameters to specific values prior to creating the report job, the resulting PDF will be rendered with those selections. If you do not set any parameter values, the report job will execute and render a PDF with the default values configured for that dashboard. If you need to update the parameters for a specific report, make your changes parameter changes on the dashboard first, and then open the report configuration and click save.
Observe dashboards can contain multiple sections. If your dashboard has sections that are collapsed by default, these sections are removed during report execution time and will not be present in the resulting PDF.
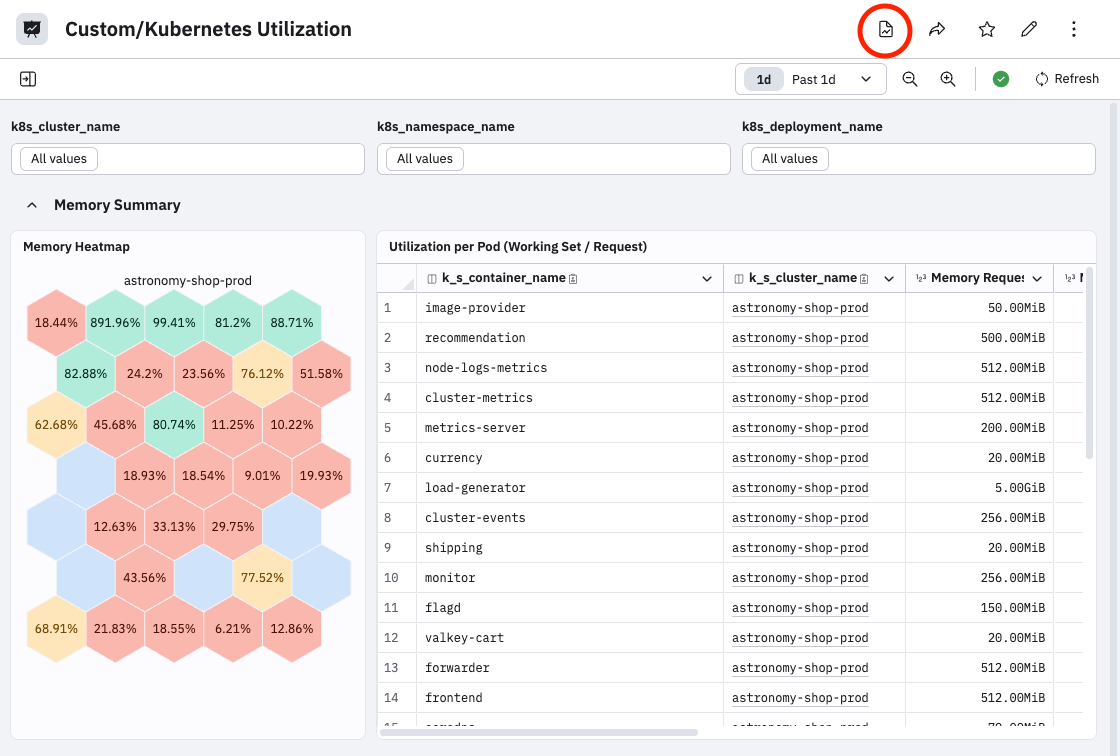
Create a new dashboard report
Create a report from any dashboard by clicking the dashboard icon:
The report creation modal provides the following report configuration settings:
| Setting | Description |
|---|---|
| Report name | The name of the reporting job that you can reference later. |
| Dashboard | The dashboard that the report will be generated from. |
| Frequency | The schedule that determines when and how often the report is sent. |
| Time | The time of day you want to send the report. |
| Dashboard time frame | Select a range of time that will be used in the resulting report. The report time frame can be different from the default time frame displayed on the dashboard. |
| Generation delay | The delay in minutes before the report is generated using the scheduled time. This is useful if the data is not yet available at the scheduled time. |
| Add recipients | Add email recipients to your report, enter their email addresses. You can remove yourself as a recipient by clicking the x next to your email. You can send reports to recipients outside of your organization. |
| Customize email | Provide a custom subject and/or message in your report email. These are not required and support plaintext. |
| Send test | Send an example before saving the schedule. |
Manage a scheduled report
Once you have created your first report, you can modify it by clicking the same dashboard icon. You will see a list of scheduled reports.
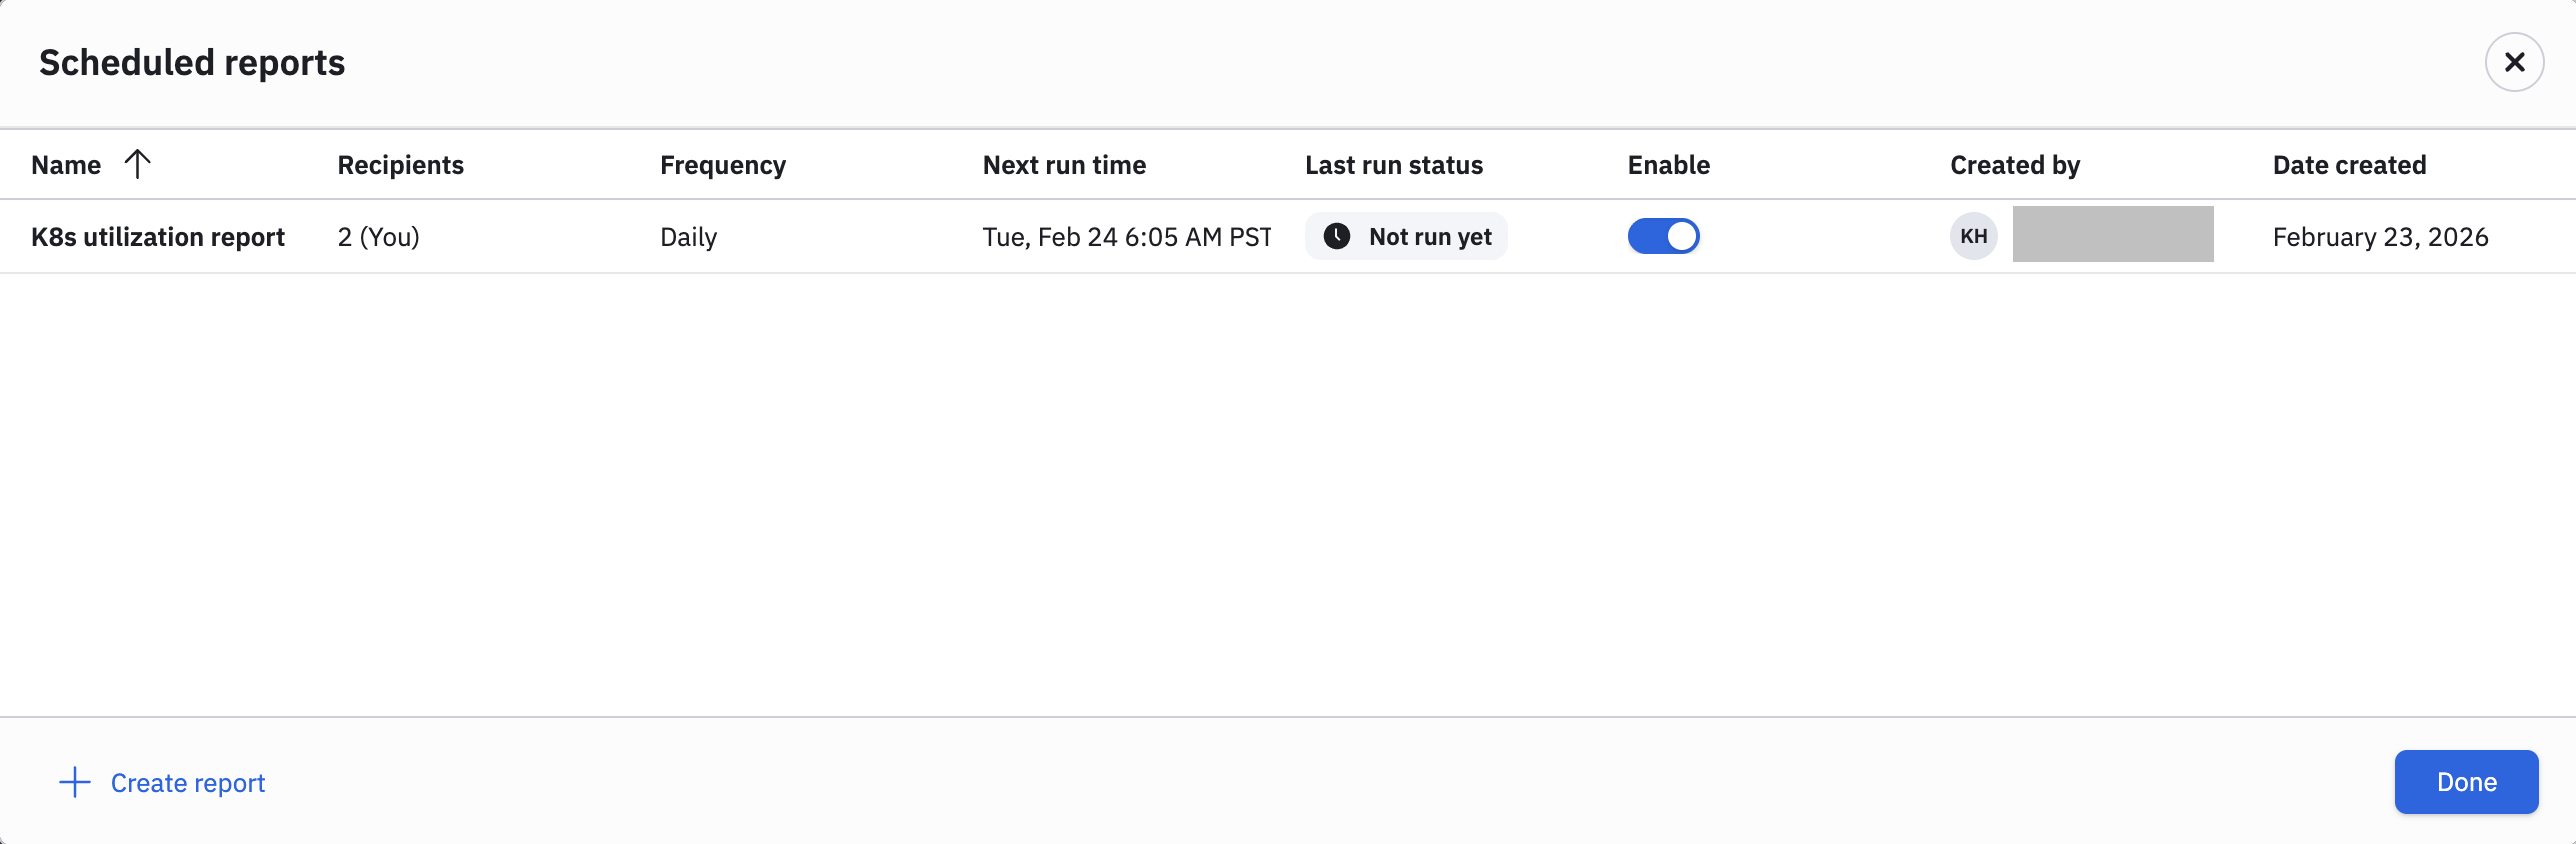
The scheduled report listing shows all scheduled reports relevant to the current dashboard, and list out key details such as; report name, recipients of the report, frequency of execution, next run time, and last run status, report creator and creation date.
Hover on any report to view the icons that enabled you to send a test report, edit the report configuration or delete the report. You can also troubleshoot report failures as needed, by hovering over the Last run status chip.
A single dashboard can have multiple scheduled reports with different settings, which allows you to customize settings for different users interested in the same dashboard. You can create additional reports by clicking Create report.
Dashboard report lister
Perform the following steps to view a list of all scheduled reports for all dashboards in your tennat:
- Click Dashboards in the left navigation rail.
- In the Dashboard Explorer, click Manage reports.
From this page you can manage all dashboard report job instances. The controls and configuration options are the same as those mentioned in Manage a scheduled report. Reports where you are the recipient, are indicated via the text (You) in the Recipients column.
Updated 3 months ago